Showing posts with label crafting. Show all posts

Thursday, August 9, 2018

Floral Etched Glass Vase


Floral Etched Glass Vase


A simple dollar store glass vase can turn into a stunning collector’s piece in just a few minutes with etchall Etching Creme!


You will need:

etchall Etching Creme and squeegee
Large plastic container of water
Clean dry paper towels
1 large squared glass vase with flat sides
Contact paper 
Diecut machine and floral die of your choice (I used Sizzix Big Shot and Vine die)

Optional: Faber Castell Gelatos in colors of your choice and makeup sponge applicator


Here’s how:

1. Prepare your work surface. (Note: I used a combination of protective surfaces to do my project so I could photograph each step.)  Wash and dry your glass vase.   


2. Cut the vine (or other floral shape) from Contact paper.  (Note: I added a layer of cellophane to the back of the Contact paper to add stability/thicknesss and prevent sticky residue from adhering to my die cut machine.) You can do this by using a die and die cut machine OR cutting a shape by hand.


  You will have both a positive vine shape AND the negative vine piece.  For this project, you will use the negative vine.  (Note: Save the positive vine shape to use for another project!) 


3. Place the negative vine on the vase, positioned as desired.  


    Burnish securely to the glass with the squeegee.


4. Apply a generous amount of the etchall Etching Creme over the exposed areas of the slide.  Set aside for 15 minutes for the etchall Etching Creme to do its magic!


5. After 15 minutes, use the squeegee to remove the etchall Etching Creme and return the creme into the container.  Yes…the etchall Etching Creme can be used over and over and over again!  Amazing, isn’t it?!  


6. Carefully remove the negative vine and wash the glass thoroughly in a large plastic container of water.  Dry well. 


7. If you want a simple vase, you can stop here. 


8. If you want a second vine on the opposite side of the base, repeat steps 1 through 6 on the opposite side.


  Add a parrot to the display and…voile!  Instant rainforest decor! (Just kidding!)

Note:  Many of you who follow my blog are already acquainted with Ollie, my crafty companion.  One of the wonderful things about etchall Etching Creme is there are NO toxic fumes and it cleans up so easily!  Ollie watched the entire project taking place and voiced his approval many times during the process.  He is trained to “not touch” and was returned to his cage during any step that might have had potential risk to his safety and impulse control.  He was so excited to be part of the photo shoot he stepped right off my hand and on top of the vase to pose for the camera!


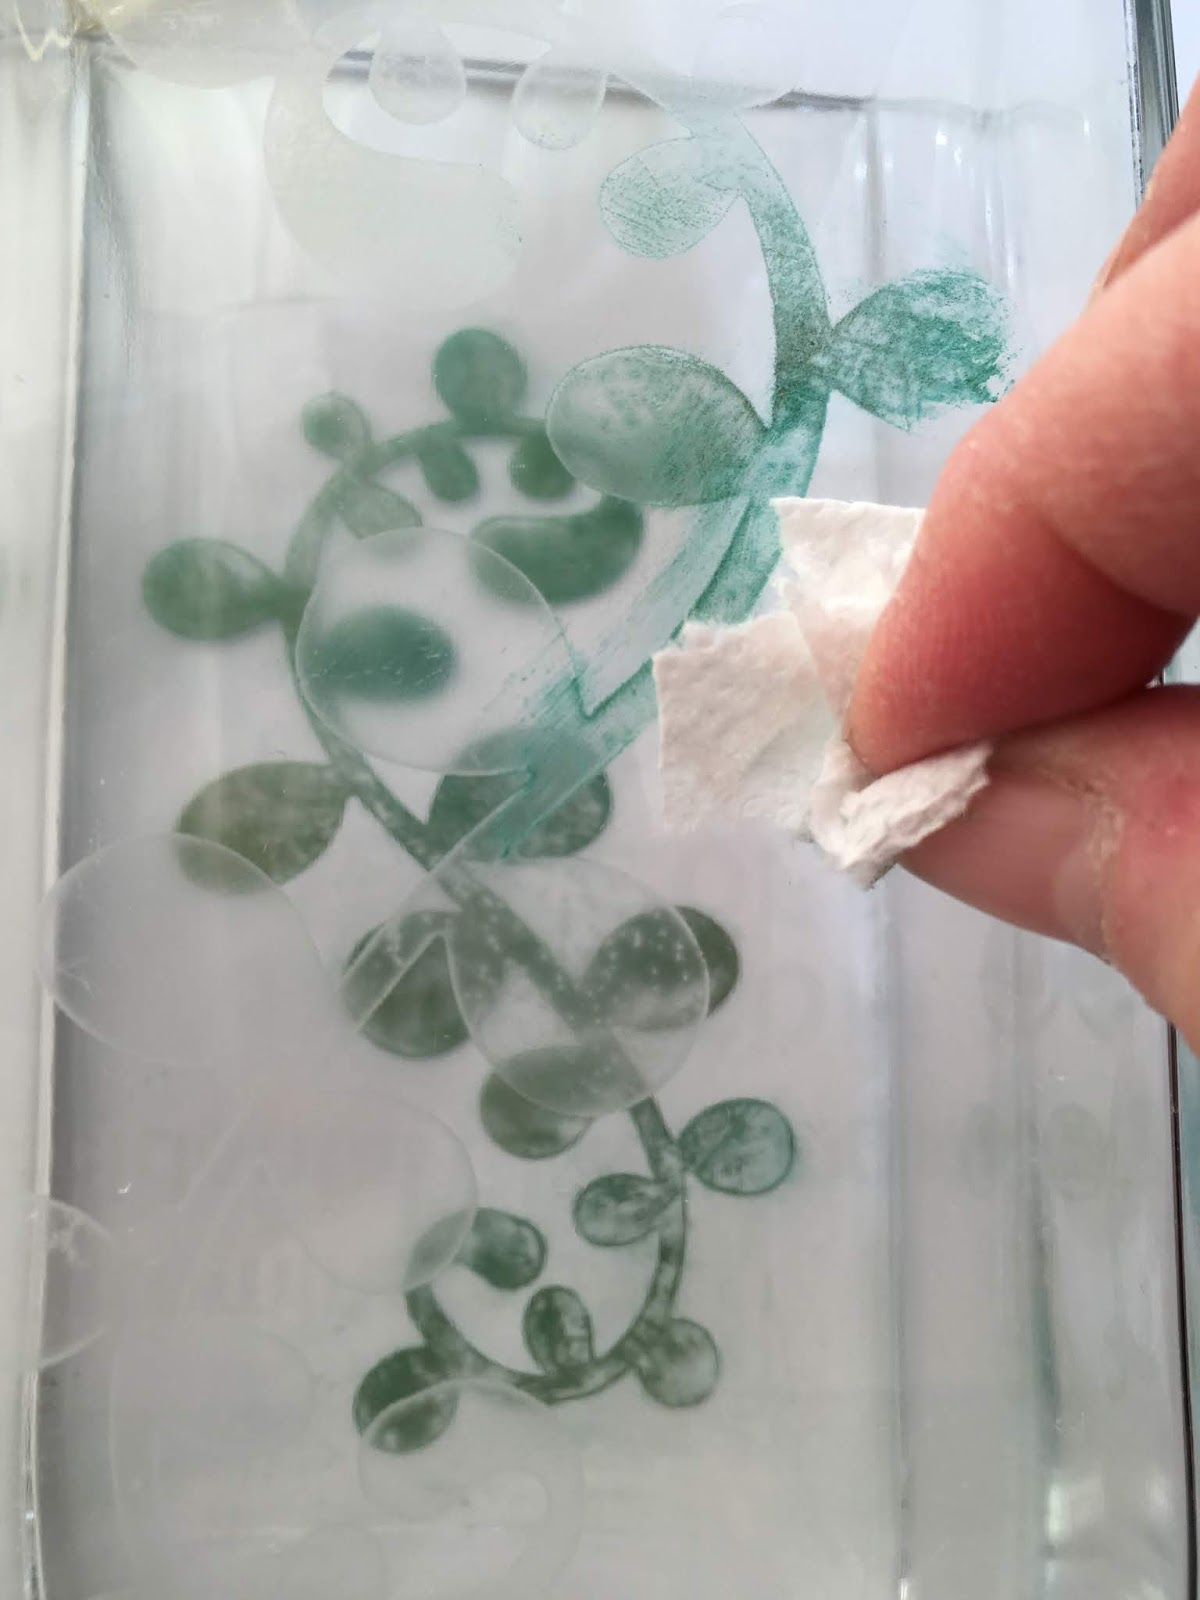
9. Creative Options: Take this gorgeous etched design one step further by adding color onto the etched areas.  


    Apply Gelatos of your choice by rubbing them onto the etched vine sections on the vase.  


    Allow to dry for about an hour and gently wipe off excess color.  


Disclaimer: Since the etchall Etching Creme etches porcelain, as well as glass, please do not use the creme or rinse the project in a porcelain or fiberglass sink or surface.  The best surfaces to use when doing these projects are plastic or stainless steel.

Thursday, July 12, 2018

Etched Glass Necklace


Etched Glass Necklace

Transform a simple microscope slide into a beautiful necklace pendant!


Etching glass changes more than just turning a transparent material into a translucent one.  It also changes the surface texture to become receptive for a variety coloring mediums. While this pendant can also be an outstanding statement in simplicity, you can also go one step further to jazz it up a notch by adding pops of color with metallic pencils.


You will need:

etchall Etching Creme and squeegee
Plastic container of water
Clean dry paper towels
2 glass microscope slides
Plastic shipping tape
Metallic colored pencils in colors of your choice
Felt, leather or other backing material of your choice.
Adhesive for glass that dries clear 
Cord in the length of your choice


Here’s how:
  1. Prepare your work surface. (Note: I used a combination of protective surfaces to do my project so I could photograph each step.)  Wash and dry your glass microscope slides.
  2. Cut narrow angled strips of shipping tape that are wider than the microscope slide.  Position and attach to one of the slides, as desired.  
  3. Burnish the strips securely to the glass with the squeegee. 
  4. Apply a generous amount of the etchall Etching Creme over the exposed areas of the slide.  Set aside for 15 minutes for the etchall Etching Creme to do its magic!  
  5. After 15 minutes, use the squeegee to remove the etchall Etching Creme and return the creme into the container.  Yes…the etchall Etching Creme can be used over and over and over again!  Amazing, isn’t it?!  Remove and discard the tape strips and wash the glass thoroughly in a plastic container of water.  Dry well.  
  6. If you want a simple pendant, you can proceed straight to step 7.  
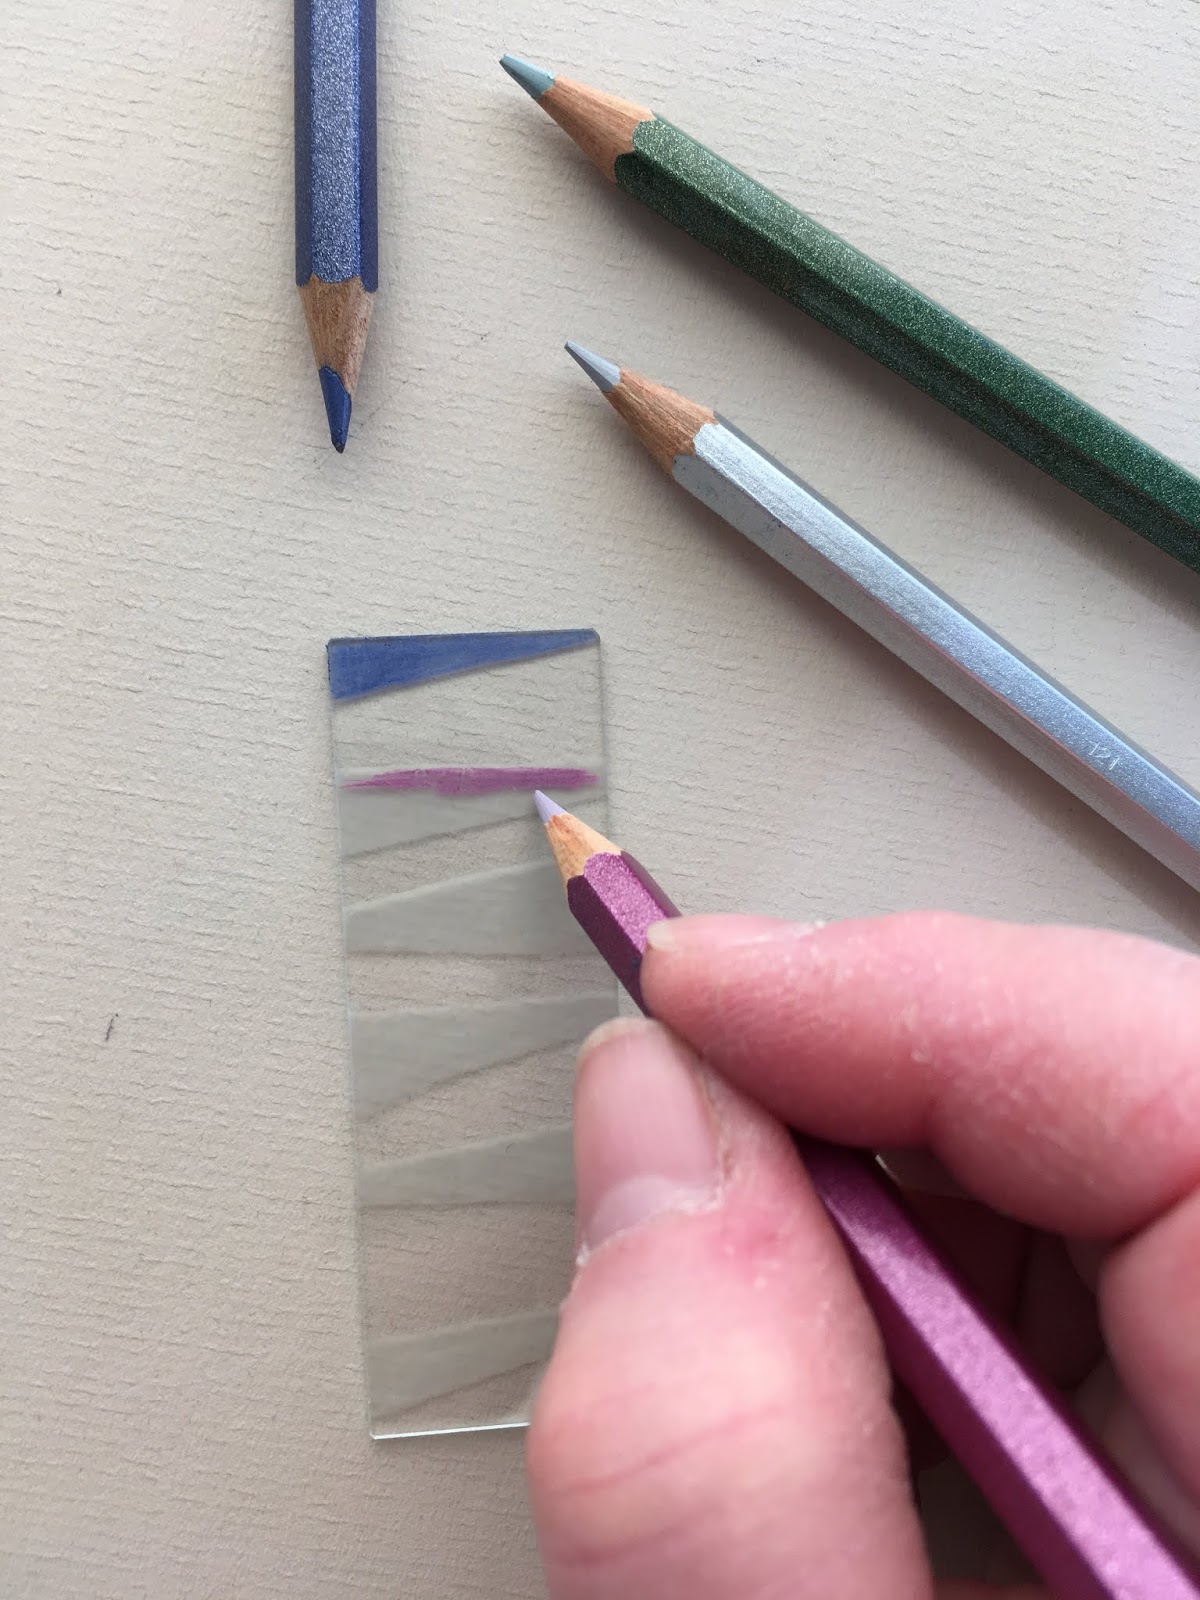
  7. If you want color on your pendant, simply color the etched areas with metallic pencils in the colors of your choice. 
     
    As you can see, I used a rainbow approach. 

  8. Apply a light, even coat of glue onto one side of the second microscope slide. (Note: I just dabbed the glue on with a piece of paper towel.) Gently position and press the glued side onto the colored side of the etched slide. Match the edges and let dry.  
  9. Cut a backing piece of felt, leather or backing material of your choice that is 2” longer and 1/2” wider than the microscope slide measurements.  Glue the glass pendant onto the backing material as shown.  
  10. Fold the top over to the back to create a casing; glue in place.  When completely dry, trim as desired.  Thread the cord through the casing.  


Disclaimer: Since the etchall Etching Creme etches porcelain, as well as glass, please do not use the creme or rinse the project in a porcelain or fiberglass sink or surface.  The best surfaces to use when doing these projects are plastic or stainless steel.

Friday, November 11, 2016

Interesting how I don't post much in summer because I just don't want to lose any of that precious time outside. But, the moment it starts to feel and smell like fall, I return to my regularly scheduled blogging.

So this post will be more of a social experiment than the usual sharing photos, events and updates in the lives surrounding the Green Family Craft Zoo. Mainly because this week has had drop dead gorgeous fall weather which we all know will soon come to a screeching halt, slowdown and then....end in the world again turning colorless in shades of white, black and grey.

And so I ponder, as I look outside and marvel at the brilliance of autumn...the psychedelic trees and all the orange, red, brown and yellow leaves scattered over all the beautiful green grass. Fall is one of my most productive seasons to create art because I am surrounded by color on my walks and I am inspired by the color palette when I return.  Which is why I am always sad to see the color slowly fade and disappear.


 Do we really say goodbye to summer and fall with the turning of a calendar page or the changing of the clocks? Or can we hold on to it in our hearts and experiences? In my case, I hold onto summer in my still healing broken toe...but also in the videos and photos that capture the sights, smells and sounds of nature (OH SO MUCH GREEN all around me!) and outdoor festivals, events and fun times.

Tuesday, March 22, 2016

Happy Spring! Happy Crafting!

Spring has sprung, the grass.....oops.  Well, here in Chicagoland, spring is still hiding.  We may have had a very mild winter by Chicago standards, but it has decided to stick around a bit longer and give spring a bit of an attitude.  Kind of a seasonal sibling rivalry thing.

So, while outdoor temps are not at all tempting, the indoor crafting climate is still quite warm and inviting! I was recently let loose and unsupervised again in my craft room last week to develop techniques and projects for Prime Publishing.

Here is a sneak peak.....more info to be posted next week....

Faux Hammered Metal Frame with Dimensional Flower Power (shown below)
Can you believe this frame was made just using an ordinary pre-cut mat (plus a secret ingredient)?  Now...can you guess how I made the dimensional flower?  I'll reveal all next week.....


And...here is yet another approach to this cool look.  This time, the project takes a more literal 3-D approach, transforming a GLASS container into something totally upscale!

I call this my Mixed Media Faux Hammered Metal Container


I used a double embossing faux antique hammered metal technique to create the container.
Here you see the same container in both photos BUT with different approaches to the container lid.  Stamped and inky sprayed canvas flower and leaves above.....button collage below....


Stay tuned for more info on these projects......


Tuesday, March 1, 2016

Super Nova Craft Explosion!

Most people dread deadlines. Ok some types of deadlines fill me with dread and the instant desire to find ways (ANY ways) to procrastinate.  Like doing taxes or making a doctor appointment.  But....deadlines that involve creating art or writing articles filled with lots of creative projects fill me with an instant desire to move full throttle into high creative mode!

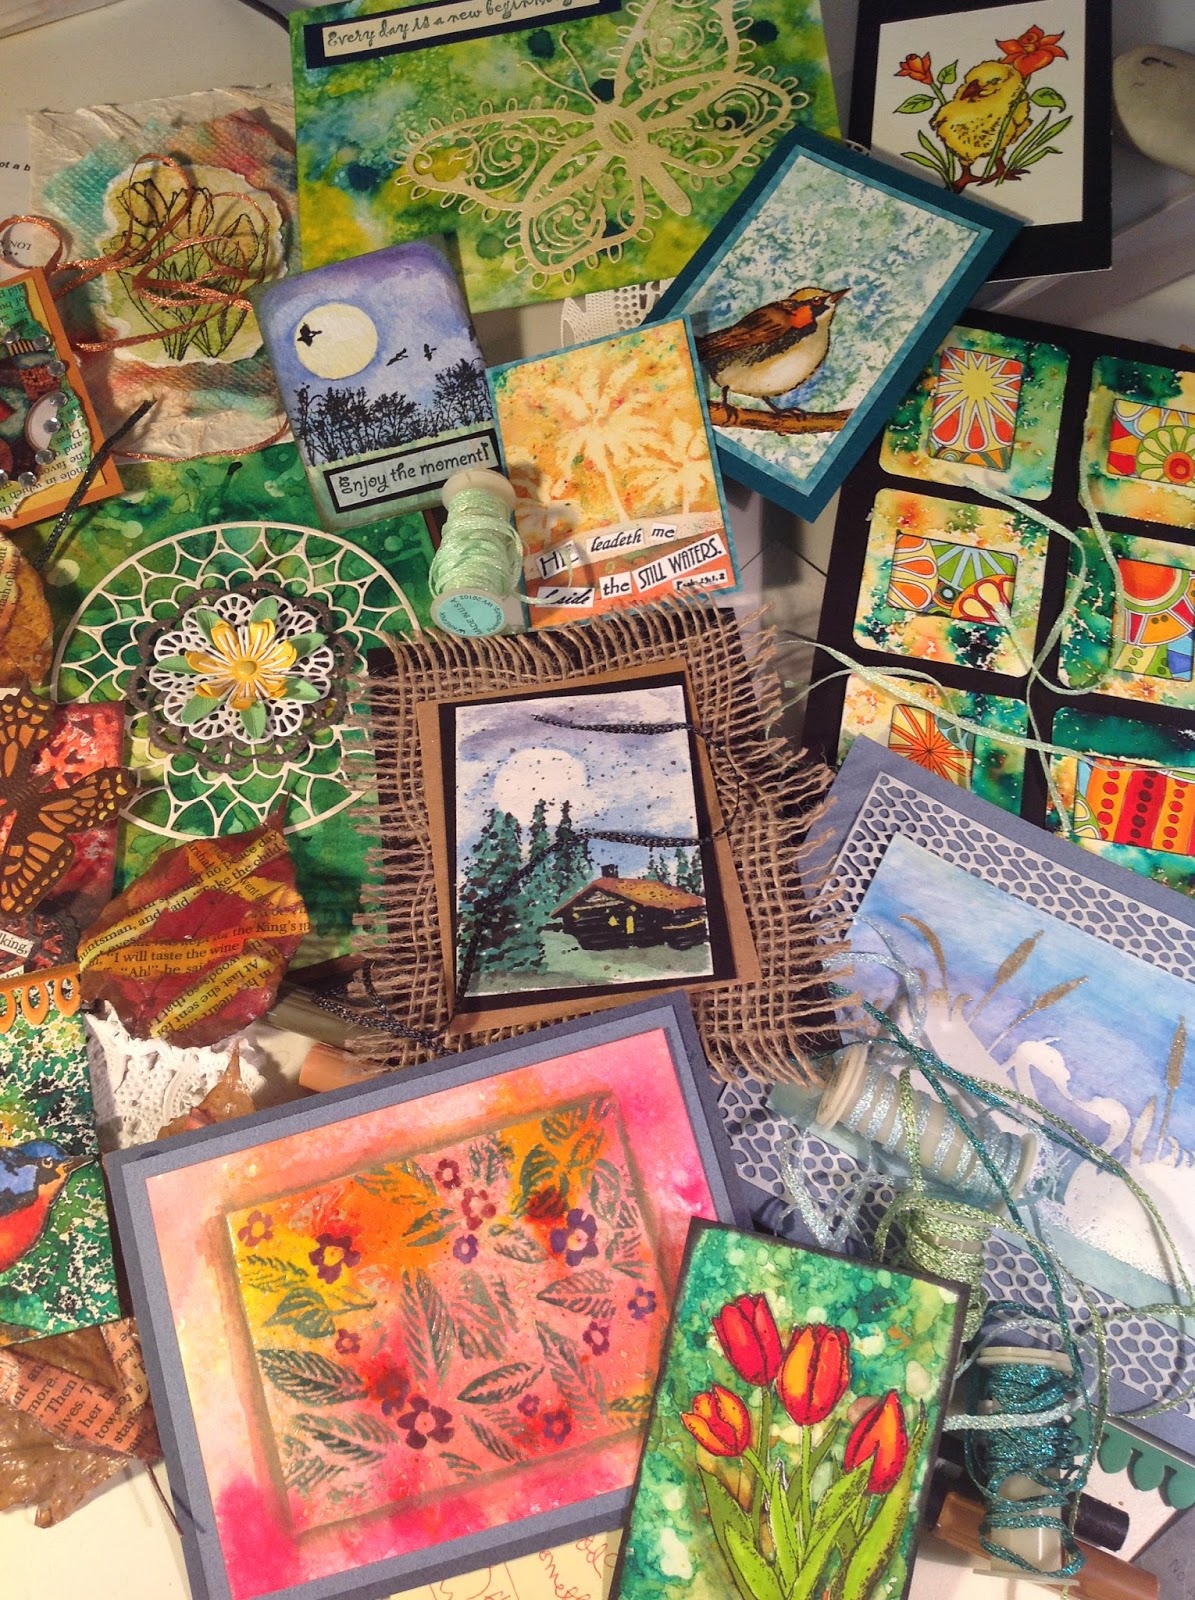
Which is exactly what I did this past weekend.  Two magazine articles and multiple projects for a third magazine later...this is what just a corner of my craft room looked like....


And another corner.....the spillover still in process to be completed this week....


IT IS a SUPER NOVA CRAFT EXPLOSION!  Wowza....


Keep your eyes out for Scrap & Stamp Arts magazine.....and Just Minis, a brand new magazine!

But meanwhile, check out the latest issue of Scrap & Stamp Arts magazine www.scottpublications.com/ssa/  and Just Mixed Media! scottpublications.com/jcmag/ for some of my latest published creations.....

And, of course in addition to the images above, check out more of my latest stamps at Impression Obsession.... iostamps.com ...Just search under Rubber Stamps > By Artist> Gail Green and you will see all my cool images!


Saturday, May 9, 2015

It is SUMMERTIME in Craft Chicagoland! Just in time for Mother's Day.....

Hi all!

Warm weather has finally arrived this week here in Chi-town....which means it is summer outside.  Yay! We kind of bypass spring here and usually go right from winter (which has been waaaaaaay too long again this past season) into the toasty warm summer temps.  With rain mixed in, of course. And everything blooming on hyperdrive and all at once.


Both of these events address the reasons I haven't posted in the past week or two.  Yes, I've opted to spend the time outside instead of inside on my computer blogging. (Can you blame me after the winter WE just escaped from?!).  It's been so amazing not wearing winter gear (heavy coats, hats, gloves, the works) and breathing in air that doesn't burn my lungs.  So yes, I have to say opportunities to walk outside have definitely trumped computer time indoors.

If you don't suffer from seasonal or other environmental allergies, this next reason probably won't really resonate with you.  Basically, it's been tough to see clearly through itchy, watering (and very irritated) eyes.  Whatever I'm mainly allergic to every spring was apparently mega-dosing the past couple weeks. Even with windows closed as much as possible, both humans and dogs brought pollen and other allergens right into the house each time anyone stepped outdoors for even a few minutes. Staring at a computer monitor had to be limited to "deadlined" projects and  necessary tasks.

The misery lasts until it rains and washes much of the mess out of the air and keeps it trapped on the soggy ground.  Which happened yesterday evening so....here I am!  Perhaps relief only for a day, but I'm enjoying the respite, nonetheless.

HOWEVER....allergies and outdoor fun has not stopped me from creating new art or crafting new projects! Or creating a sale in my Etsy shop!  25% off ALL original art dog, cat and wildlife note cards!  Visit www.sweetpetatoes.etsy.com to visit my shop.  Lots of items listed...from scrapbook kits to handcrafted one-of-a-kind silk ties.

If you have not done so yet, please drop by www.mixedmediaart.net and take a peek at my debut article on the blog.  It is under the Product Review Section but you can just search on top under my name Gail Green and the article will pop up.  Or try this direct link......http://www.mixedmediaart.net/?s=gail+green

And, in the spirit of the season, here's one of the projects in the blog article....


I also have another project posted on the Linnie Blooms Design Team Blog....it's pretty cool so take a jog over to that site, as well... www.linnieblooms.blogspot.com

For more info on Linnie Blooms products, visit their website.


Another article will be posting sometime next week...

Have a Happy Mother's Day!


Monday, April 20, 2015

Linnie Blooms BLOG hop on WEDNESDAY!

Attn all mixed media artists, crafters, stampers, painters....and creatives!

Watch for WEDNESDAY!

Linnie Blooms Blog Hop begins....

Prizes!  Prizes!  Prizes!

All you have to do is comment on my blog to be entered....so check back on WEDNESDAY!


Friday, March 13, 2015

Introducing....Ollie the Monkeyman!

For those of you who may not already be familiar with my "Ollie" stories, let me explain.  Ollie is a 5-1/2 year old Eclectus parrot who LOVES, LOVES, LOVES crafting and all things artsy, colorful and creative.  Not sure if it is the positive energy I give off when creating and creating art--or the sheer fascination he has watching things happening--but Ollie is at his happiest when he can watch creative things going on.

Lately, he has taken on new responsibilities. One of his new jobs is to tease Lacy Lulu, our 7 month old Border Collie puppy.  Like all "siblings", each wants to have what the other has.  In Ollie and Lacy's case, that means food and toys. Each, of course, will immediately grab the other's toy(s).  Ollie has also discovered how much fun it is to reinforce training the puppy by saying "Good boy!" when Lacy obeys a command and will often drop tasty bits of food off the side of his feeding station (aka the kitchen island) on purpose just to each her eat them up. Sometimes his enthusiasm goes a little into hyperdrive, however, and he will (literally) empty his entire bowl over the edge, one piece at a time. Maybe that is just his own way of expressing himself creatively!