Have you ever colored your stamped images with colored pencil and been disappointed with the results?
Well...that is all about to change! Just keep reading....
I have recently been experimenting and perfecting THE COOLEST color pencil technique ever!
 |
| All my stamp images are from Impression Obsession and can be found here. |
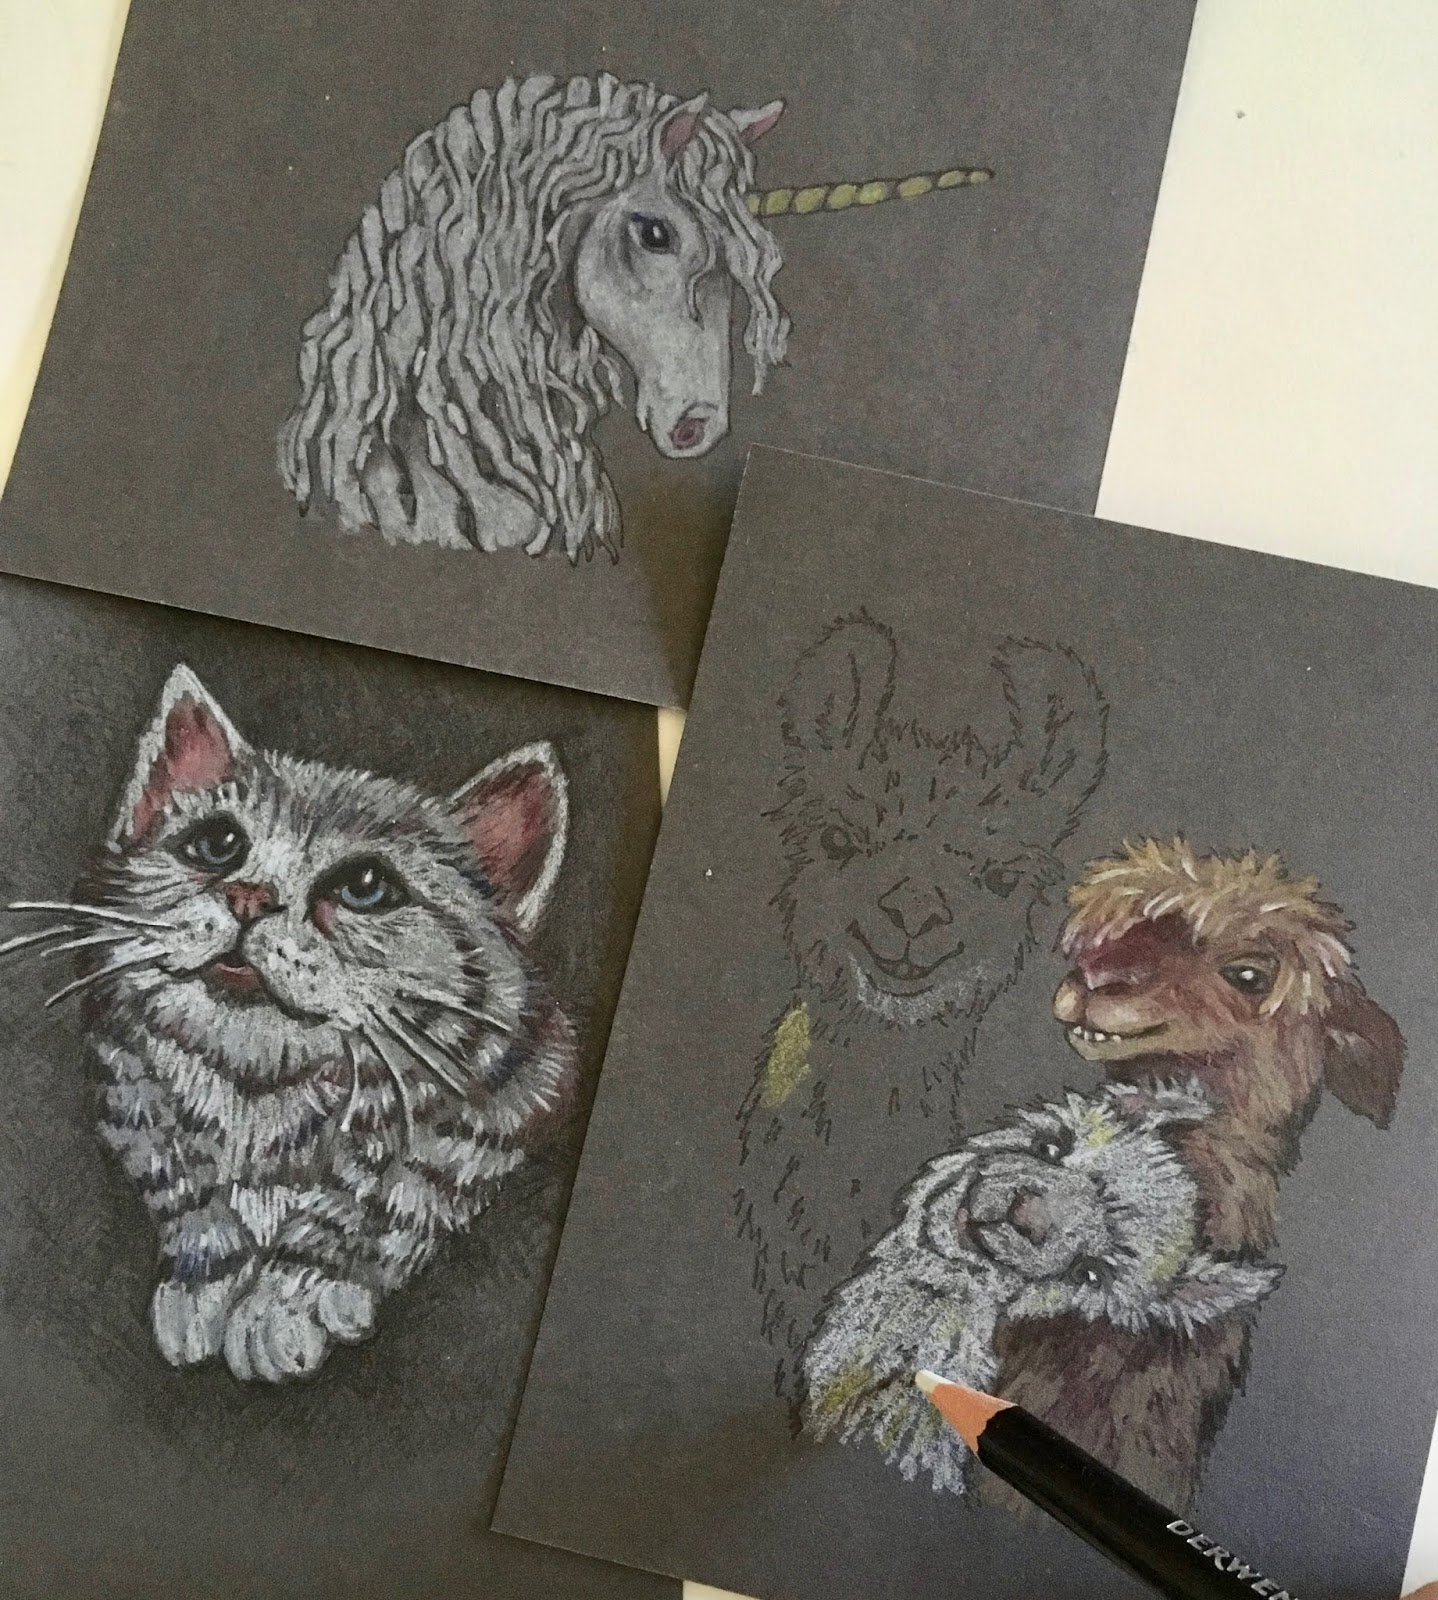
It all started as a simple serendipitous "surprise". I had stamped an image on a dark grey cardstock scrap. Yep, that was it. I then had one of those "oh no, what do I do now" moments when I realized DUH, how do I now add color?
Most typical coloring mediums used with paper crafts (like ink, marker and watercolor) are transparent. They don't work at all on dark surfaces. And, while most opaque mediums like acrylic paint, pigment ink and pastel will show up on the dark cardstock, they also obliterate outline and detail lines on my stamped image.
So....I'm thinking what to do...what to do.....and then POW! Light bulb moment. How about colored pencils?!
I quickly pulled out ALL my colored pencil tins and started experimenting with the different brands and types I had available. (Why I actually have so many different brands and types is a WHOLE other story in itself.)
And, WOWZA! This translucent medium really pulled it off. Actually, more than just in an average kind of way. Truth is....they were AMAZING!
 |
| All my stamp images are from Impression Obsession and can be found here. |
Colored pencils are the best of all worlds. They work by adding translucent layer upon translucent layer until you get the color and intensity you want. Each layer is affected by the layer beneath...and that includes the color of the substrate used beneath that very first layer.
Then came the experimenting as I quickly discovered not all color pencils perform the same on all substrates. Different brands AND types can work very differently. Some are harder, some softer. Some pencils wind up with a waxy buildup (called "bloom"). The pencils in some brands and product lines seem to lay down more intense color while others need more layers to be built up for that intensity.
And then there is the variable of the actual colored cardstock. Uncoated cardstock worked the best. I found smooth cardstock has better results than textured cardstock simply because the stamped image is crisper plus the colored pencil often won't attach well to the indentations and grooves in the texture. Cardstock color and value (dark, mid-ground, light) will also affect the color pencil results. So, it is best to test your color palette on a small cardstock scrap before beginning an actual project.
Here comes the REALLY cool part: You do NOT need to be an "artist" to try this technique. And I mean you will SUCCEED when you try it! All you need is to know basic color theory, ie, blue + yellow = green. Primary colors are the basis for everything (red, yellow, blue) secondary colors are made by mixing two primary colors (orange, green and purple) and complementary colors are opposite each other on the color wheel. That's it, kids. And, surprise....using a rubber stamp image even eliminates the need to be a skilled sketch artist.
 |
| All my stamp images are from Impression Obsession and can be found here. |
However, I do understand that many people may still be a little intimidated by colored pencil. Since my experimenting I have developed steps to this technique that will give you confidence and insure your success.
This first tutorial is only covers stamping and coloring on a very NEUTRAL cardstock...dark grey. By using a dark grey "ground", we have already laid in some of the tonal shadows. This is the perfect cardstock to choose when using images that are lighter in tonal value.
 |
| All my stamp images are from Impression Obsession and can be found here. |
Here are a few tips:
1. Begin coloring using the LIGHTEST color....normally WHITE, followed by light grey, light tan, light yellow, blue, green, pink or whatever colors your piece will be. Add your lightest and most striking highlights first. Where desired, the highlights can cover up the stamped outline or detail.
2. Start laying in your DARKEST shadows next. But...not everywhere. Just where they will be the darkest. You will add more shadow layers later.
3. Start building layers of your mid-tone colors, adding color on top of color until you get the intensity and shade you want. Add your lighter and deep colors again in some of the layers so they become embedded or sandwiched in between color layers.
4. End by adding a few more strokes of white highlights...and the darkest of dark shadows.
5. If you want to get "artsy" really quick, create your deep shadow tones by adding the complementary color instead of just adding black. Then add layers of the other two primary colors to blend So, basically, you add shadows using the colors MOST unlike the color of the item you are adding the shadow to. if you add shadows to a green leaf (green is made of blue + yellow), you will also use a deep red layer to create a richer shadow. Blend with a little purple and add a little orange if desired. Conversely, if you are adding shadows to a purple item, you should add yellow but also add the dark green and dark red to blend. You will get the hang of it once you start experimenting.
6. Best tip is to do "practice pieces" on cardstock scraps. I have found that the simple act of making something that "doesn't count" before doing the final piece where there can be no mistakes, often frees up our ability to take risks and just "flow".
 |
| All my stamp images are from Impression Obsession and can be found here. |
Next time on the blog, I will go into more detail covering colored pencil on amid-range colored cardstock.
All stamp images copyright by Gail Green LDL/Impression Obsession. All content on this blog post and all posts on this blog copyright Gail Green. Do NOT copy or use any of this content without written permission from the author and artist Gail Green.


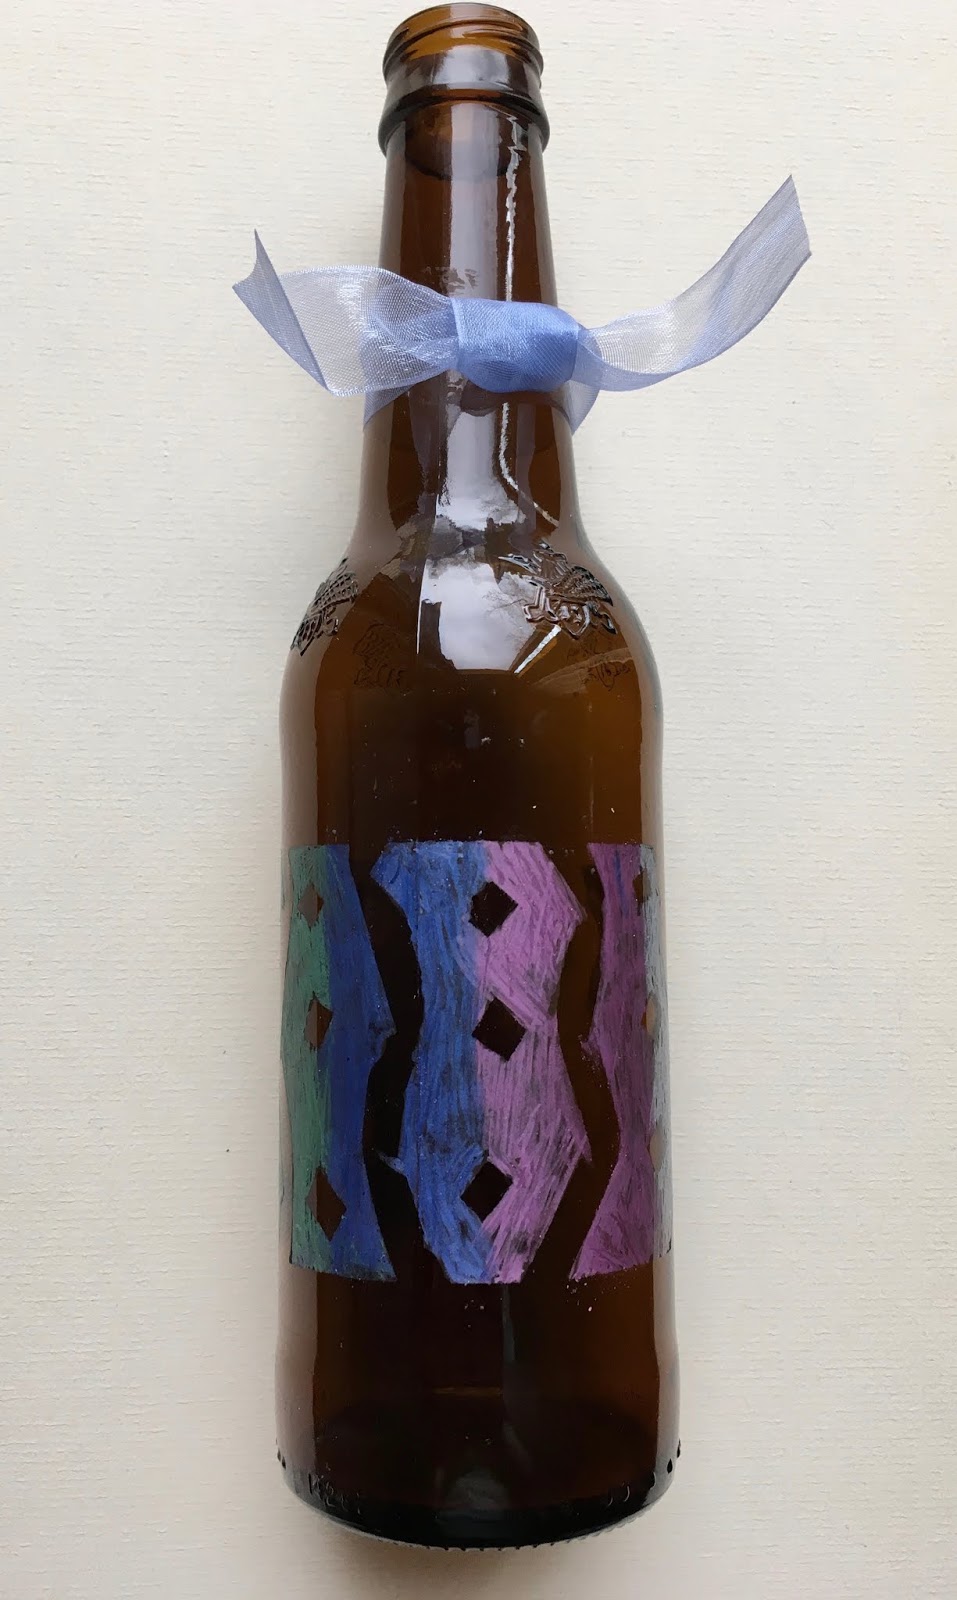
 As you can see, I used a rainbow approach.