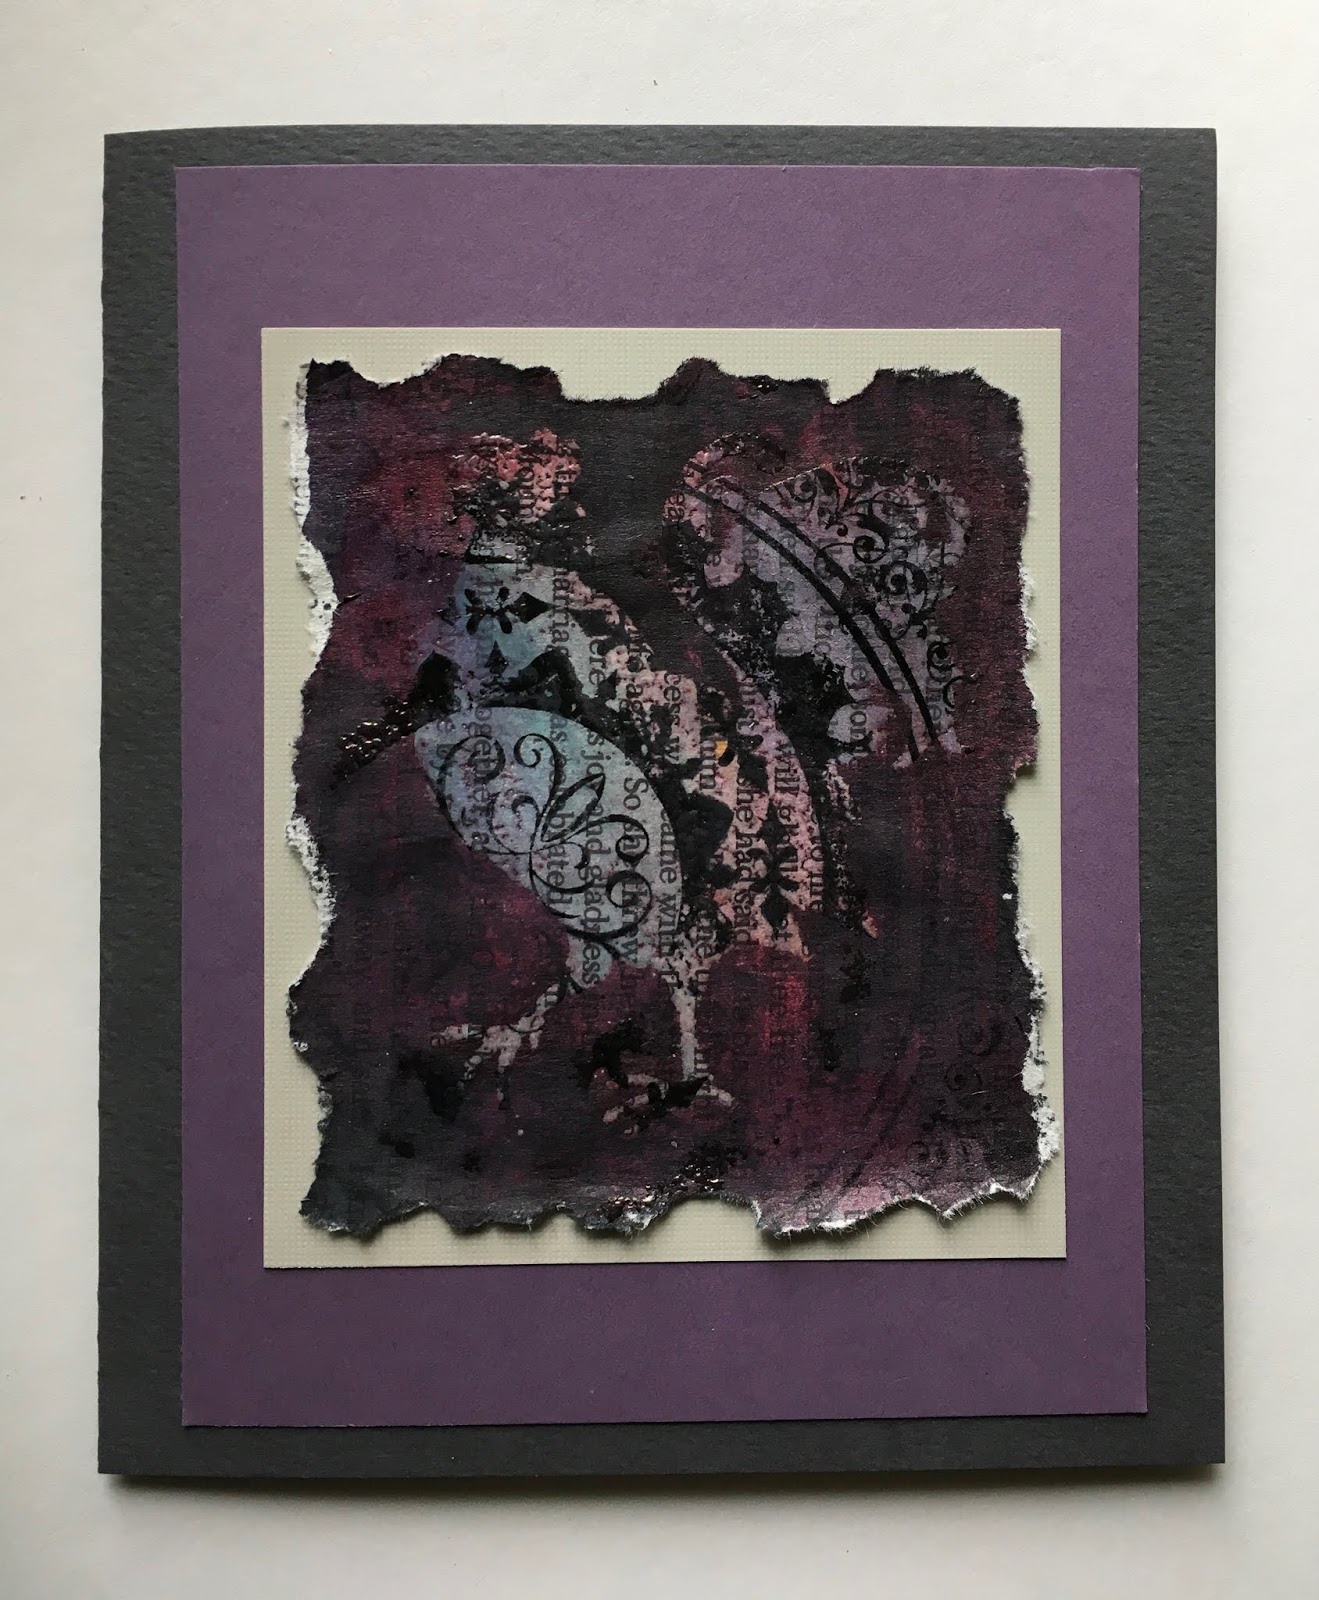
Again, I decided to use a sheet of printed text torn from an old book. I love using printed text pages because the text is already there,...plus the paper is usually lightweight and perfect for easy ink absorption.
For this project I used Boho Mandala plus one of my new silhouette stamps from Impression Obsession -- Rooster 1.

I began by prepping my paper. Using DTP (direct-to-paper) and sponging added color and grunge to the plain white background. (I used Clearsnap Colorbox Archival Dye inkpads in various colors.) And since dye ink is transparent, the printed text shows right through. Another way to ink the paper is to use spray inks. This technique does make the paper super wet which then has the potential to cause it to curl. To keep curling at a minimum, I'll dry the paper immediately with a heat tool and then let it finish drying overnight with a heavy non porous weight (like a plastic box filled with inkpads or an old metal cookie tin) sitting on top.
When the paper is completely dry, it's time to begin stamping. I stamped my Boho Mandala off-the-edge an then repeated it again in the opposite corner.

Now the fun part begins.
To create the resist effect, I stamped my Rooster 1 in the center of the paper using clear embossing ink. I then sprinkled clear embossing powder on top, shook off the excess and melted it with a heat tool. The cool thing about embossing is it creates a resist to most water-based wet media.
I then sponged on additional ink around the image, making sure to use a high contrasting color.
This technique can can be used in dozens of different ways and color/design combinations. Sometimes it is fun to experiment and just take the opportunity to let your creative heart shine!

After a little hand tearing and layering, here is the finished project! Beacon Adhesives Zip Dry Paper Adhesive makes the layering super easy to do.
