Etched Glass Necklace
Transform a simple microscope slide into a beautiful necklace pendant!
Etching glass changes more than just turning a transparent material into a translucent one. It also changes the surface texture to become receptive for a variety coloring mediums. While this pendant can also be an outstanding statement in simplicity, you can also go one step further to jazz it up a notch by adding pops of color with metallic pencils.
You will need:
Plastic container of water
Clean dry paper towels
2 glass microscope slides
Plastic shipping tape
Metallic colored pencils in colors of your choice
Felt, leather or other backing material of your choice.
Adhesive for glass that dries clear
Cord in the length of your choice
Here’s how:
- Prepare your work surface. (Note: I used a combination of protective surfaces to do my project so I could photograph each step.) Wash and dry your glass microscope slides.
- Cut narrow angled strips of shipping tape that are wider than the microscope slide. Position and attach to one of the slides, as desired.
- Burnish the strips securely to the glass with the squeegee.
- Apply a generous amount of the etchall Etching Creme over the exposed areas of the slide. Set aside for 15 minutes for the etchall Etching Creme to do its magic!
- After 15 minutes, use the squeegee to remove the etchall Etching Creme and return the creme into the container. Yes…the etchall Etching Creme can be used over and over and over again! Amazing, isn’t it?! Remove and discard the tape strips and wash the glass thoroughly in a plastic container of water. Dry well.
- If you want a simple pendant, you can proceed straight to step 7.
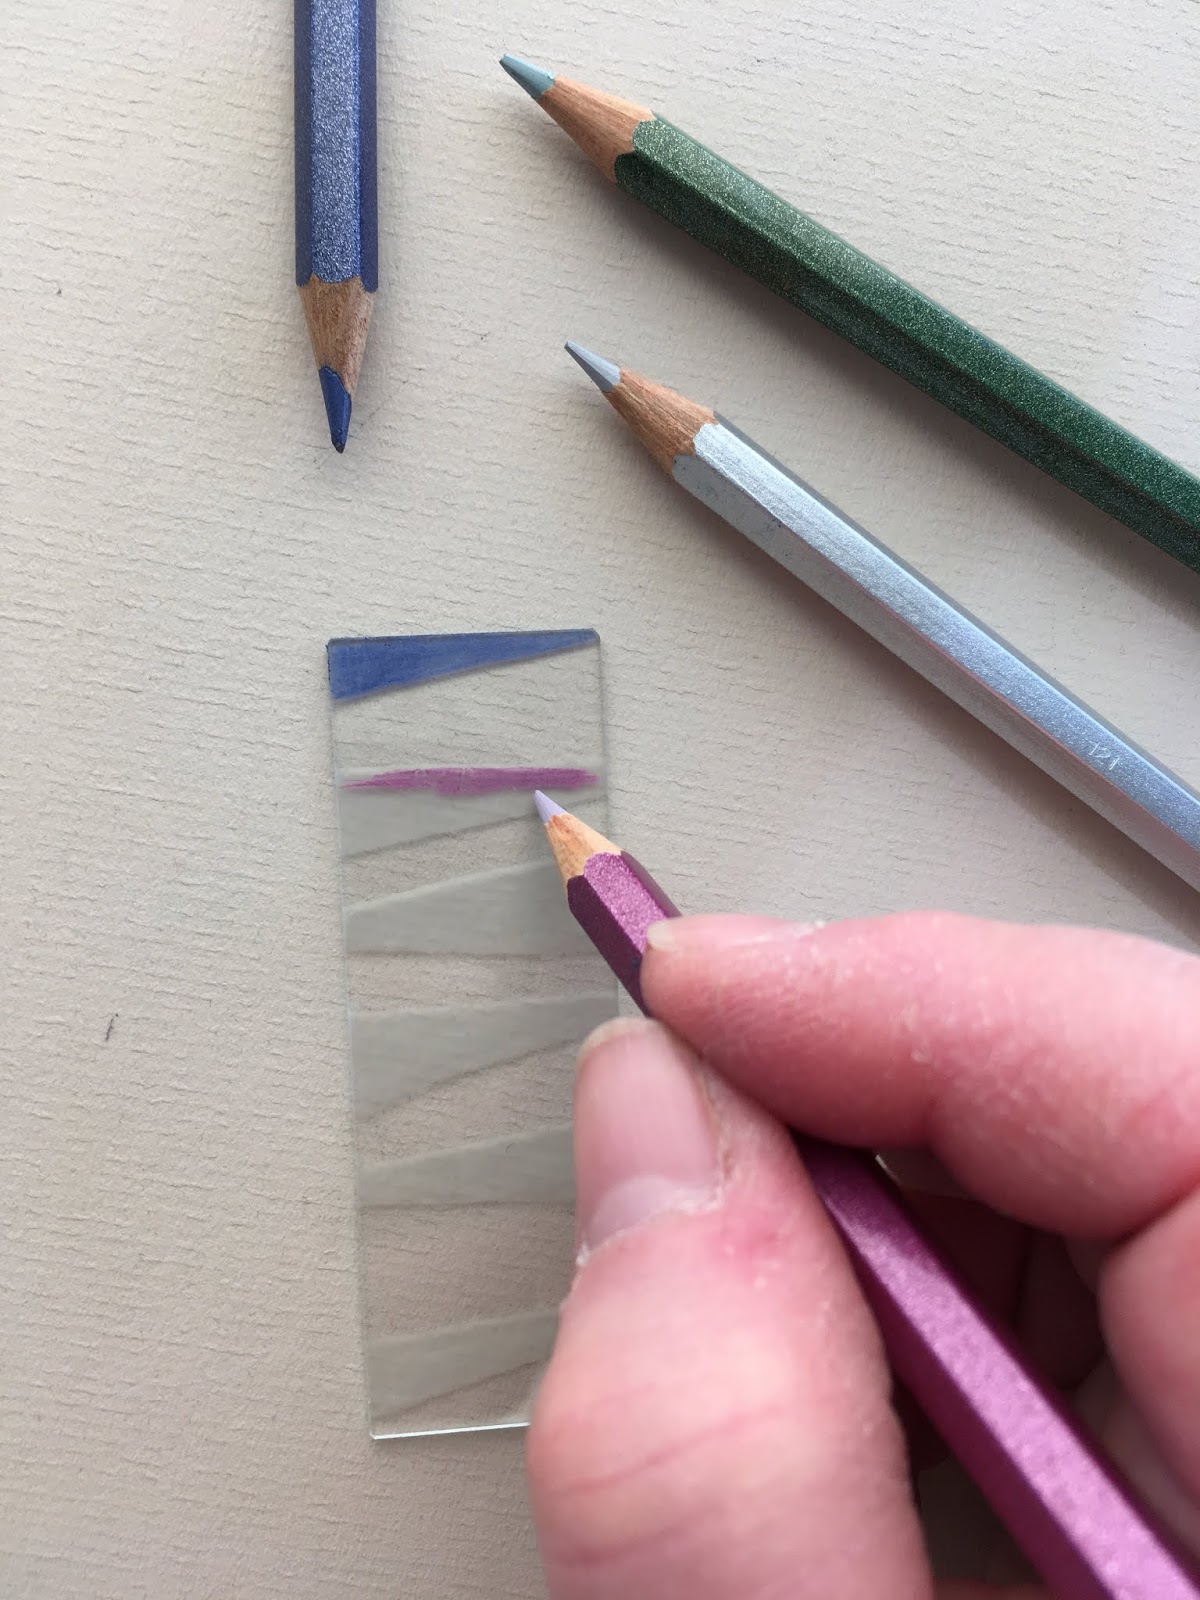
- If you want color on your pendant, simply color the etched areas with metallic pencils in the colors of your choice.
As you can see, I used a rainbow approach.
- Apply a light, even coat of glue onto one side of the second microscope slide. (Note: I just dabbed the glue on with a piece of paper towel.) Gently position and press the glued side onto the colored side of the etched slide. Match the edges and let dry.
- Cut a backing piece of felt, leather or backing material of your choice that is 2” longer and 1/2” wider than the microscope slide measurements. Glue the glass pendant onto the backing material as shown.
- Fold the top over to the back to create a casing; glue in place. When completely dry, trim as desired. Thread the cord through the casing.
Disclaimer: Since the etchall Etching Creme etches porcelain, as well as glass, please do not use the creme or rinse the project in a porcelain or fiberglass sink or surface. The best surfaces to use when doing these projects are plastic or stainless steel.


 As you can see, I used a rainbow approach.


No comments:
Post a Comment